My 2 year old is obsessed with painting and all things arts & crafts. I realized just how extreme her love is when she threw a colossal fit when it was time to leave our local pottery painting place.

So, needless to say I use this to my advantage. If I need to get dinner ready or work on a project in the kitchen… I pull out the watercolors. Watercolors are perfect, although a bit messy, I don’t have to worry about a ton of clean up or stained clothes. As far as supplies, I bought general paint paper from Michaels. We have had a few sets of watercolors for sometime, I'm guessing these are from way-Mart or Target. Brushes are from a variety pack from one of the local craft stores.

Now, the problem is what do I do with all this precious two year old artwork. I remember seeing something on Pinterest and thought that it would make a great gift for grandmas and other relatives. Grandma, if you are reading this...stop here and move on...do not read the rest of this post!!!
I have been collecting all of these masterpieces and they’ve been sitting in a huge pile on my sideboard. A recent trip to Hobby lobby to get supplies and I am halfway to my goal of making a cute gift and preserving this artwork. Aside from the kids masterpieces, you need scrapbook card stock, a large shape punch (I chose circle), scrapbook gluestick and a frame.


Here is the punch I used. I happened into Hobby Lobby on the week that these were on sale. But if they are not, I would definitely recommend using the Hobby Lobby app and grab a 40% off coupon.


I found frames at Michaels in a 2 pack. They were $15 for two, making them very reasonable.
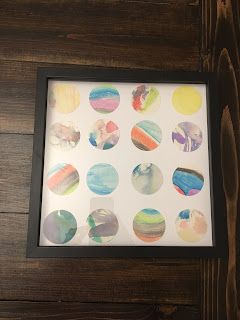
The finished projects are pretty cute, and a precious way to preserve this sweet time of my art obsessed 2 year old! I am looking forward to hanging one in our kid art spot in our rec room and gift the other two to both grandma/s.

So, needless to say I use this to my advantage. If I need to get dinner ready or work on a project in the kitchen… I pull out the watercolors. Watercolors are perfect, although a bit messy, I don’t have to worry about a ton of clean up or stained clothes. As far as supplies, I bought general paint paper from Michaels. We have had a few sets of watercolors for sometime, I'm guessing these are from way-Mart or Target. Brushes are from a variety pack from one of the local craft stores.

Now, the problem is what do I do with all this precious two year old artwork. I remember seeing something on Pinterest and thought that it would make a great gift for grandmas and other relatives. Grandma, if you are reading this...stop here and move on...do not read the rest of this post!!!

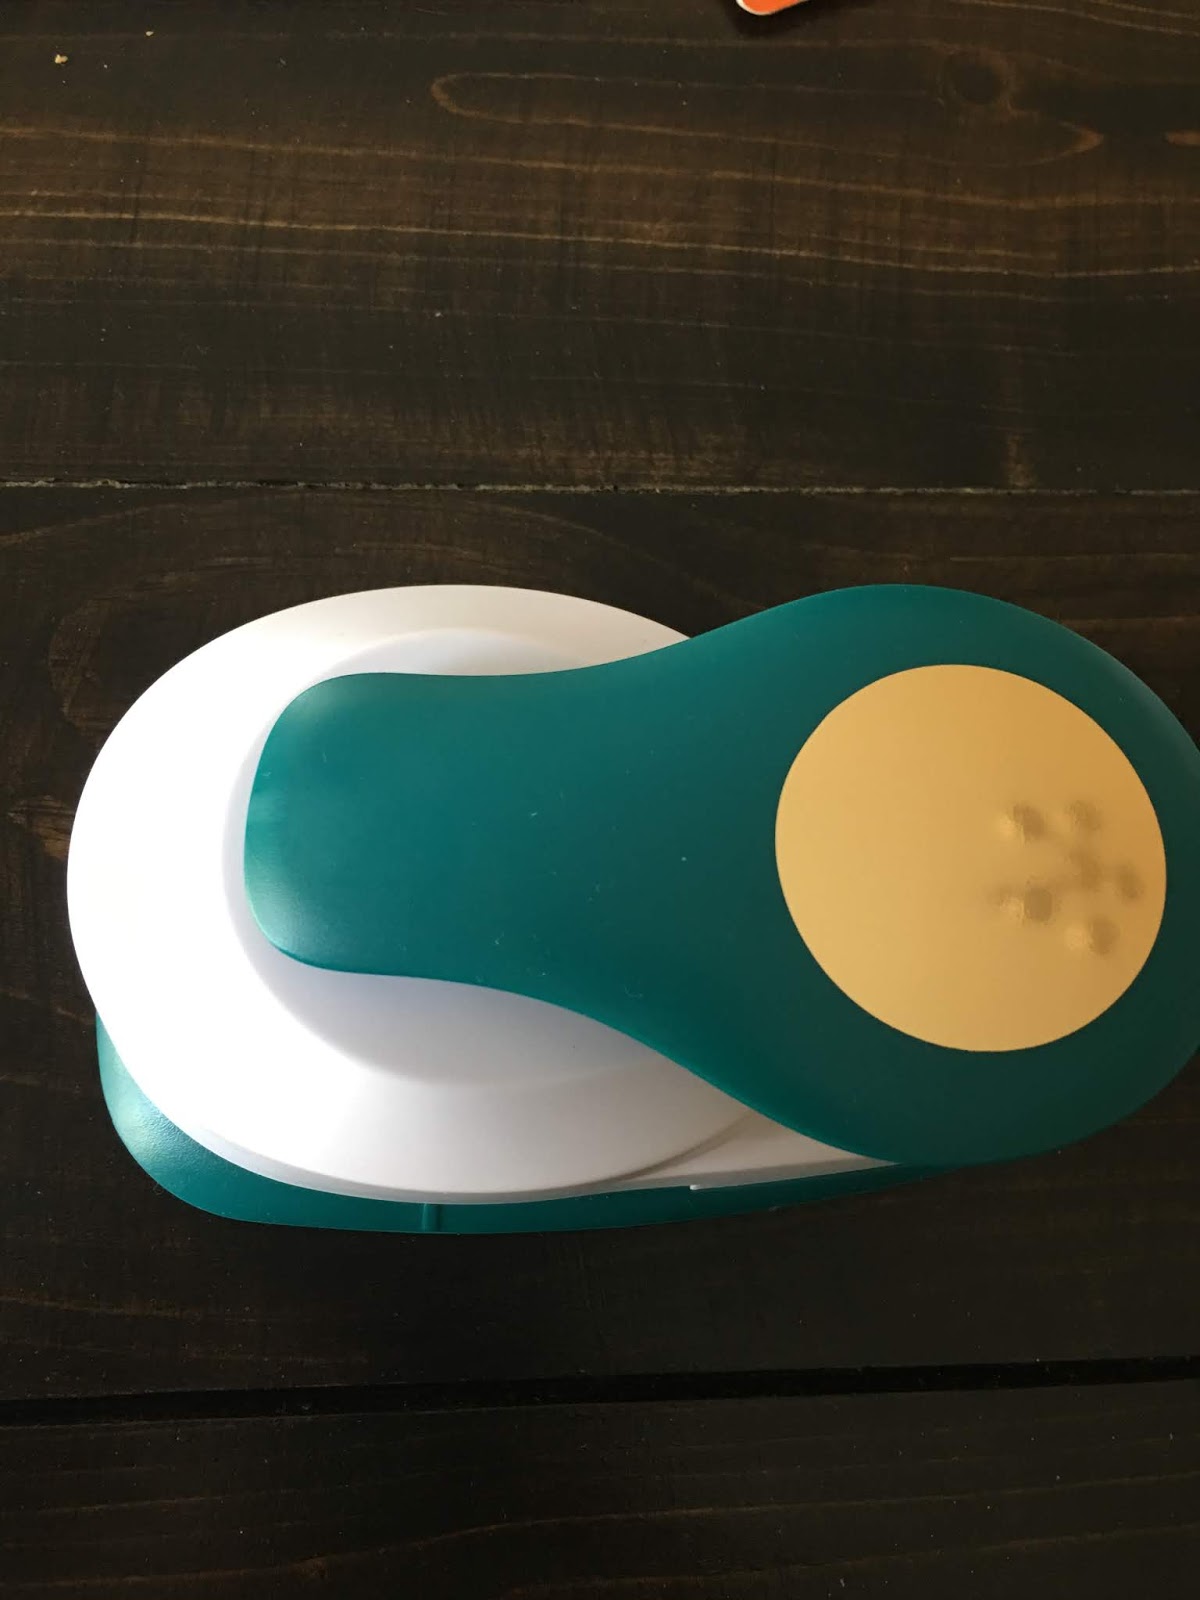
Here is the punch I used. I happened into Hobby Lobby on the week that these were on sale. But if they are not, I would definitely recommend using the Hobby Lobby app and grab a 40% off coupon.
Next, I punched lots of circles. I plan on making 3 of these beauties, I need 16 circles per project so that means 48 circles total. Lots of punching. I used a craft glue stick to attach the circles to the scrapbook card stock.

Most of the time when the littlest artist at my house is painting the older girls join in too. So, I used pieces of all of their work and included it all in the finished pieces.

I found frames at Michaels in a 2 pack. They were $15 for two, making them very reasonable.
The finished projects are pretty cute, and a precious way to preserve this sweet time of my art obsessed 2 year old! I am looking forward to hanging one in our kid art spot in our rec room and gift the other two to both grandma/s.

Comments
Post a Comment